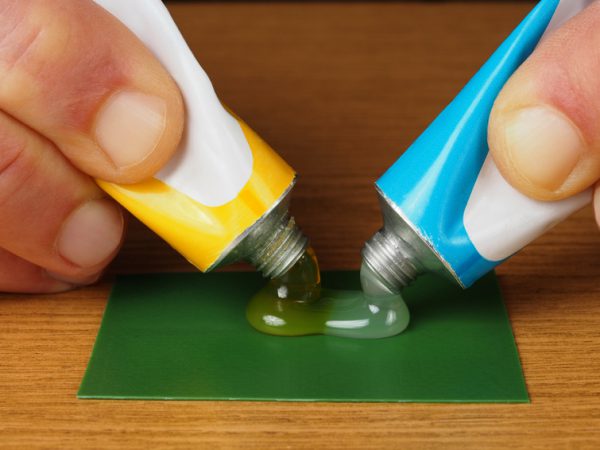
When adhesive products are mixed, there is a good chance that air entrapment can occur. While this is a very common occurrence, it’s not a welcome one. Air entrapment leads to air bubbles, which can disrupt the performance of the materials being bonded. In order to fully encapsulate components without the formation of air bubbles, potting compounds must have a slow and steady flow and an ideal viscosity of 400 to 50,000 cps. But even if those rules are followed, air bubbles can still occur.
One way to alleviate the risk of air bubble formation is to use a dispensing machine. Epoxy dispenser pumps typically remove the likelihood of human error from the equation, meaning the final product will be much more consistent. But some businesses still rely on traditional methods, rather than making the switch to advanced adhesive dispensing systems. Although modern epoxy dispenser pumps will make the removal and prevention of air bubbles much easier, there are some other methods you can utilize that will help in this area.
Degassing:
Vacuum degassing is a process that actually removes the air pressure that surrounds the epoxy. By performing this process, the air trapped inside the epoxy can escape, leaving a final product that’s free of air bubbles. Using a vacuum pump that can pull at least 29 inches Hg (mercury) at a fast rate and an open container that offers a volume capacity of at least five times that of the epoxy itself, you can create a scenario that will remove the air bubbles. You can also speed up this process by adding a vibratory component. As long as you refrain from pulling too much vacuum (which can end up adding more air bubbles) and utilize this method for as short a period as possible, you can obtain your desired results.
Heating:
This is one of the easiest (and, arguably, one of the most efficient) ways to remove air bubbles from epoxy. After the epoxy is placed in an open container, it can be heated in an oven. The oven should be pre-heated to 35 to 40 degrees Celsius. After 10 minutes, the air bubbles should dissipate; longer heating times are permitted, so long as you remember that heat can also speed up the curing process. You may need to lightly brush the surface of the epoxy with a spatula to break up the surface tension that may keep bubbles from escaping. In general, it’s a very tried and true method — albeit not the most technologically advanced one.
Centrifuging:
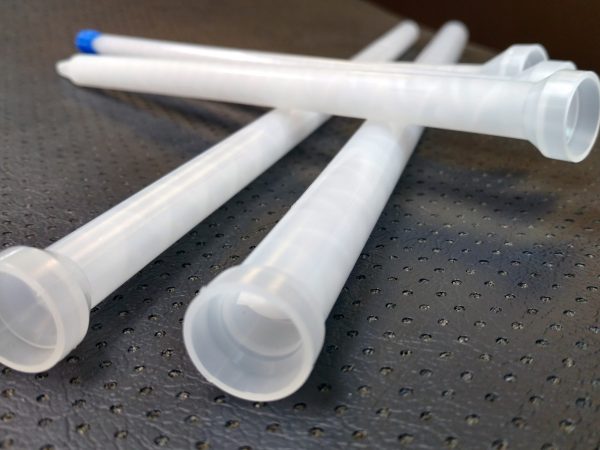
Many businesses that rely on epoxy will use a centrifuge to remove air bubbles from their products. Typically, this process is used when utilizing epoxy syringe dispensing, rather than epoxy dispenser pump machines. After the product is placed into a syringe, the syringe can be turned with the tip facing up, which allows air bubbles to move their way towards the tip. Once this occurs, the stopper or lock tip cap can be removed; after that, the piston can be pushed up slowly to remove large air bubbles. Then, the syringe is ready for the centrifuge. After the centrifuge runs for about three minutes, all traces of tiny air bubbles will be removed from the epoxy.
Air bubble formation is a concern for any business that works with epoxy. Using the aforementioned methods will allow you to remove air bubbles from your adhesives. However, the best way to prevent them in the first place is to use an epoxy dispenser pump that is equipped with more efficient technology. Rather than hand-mixing and then being forced to deal with the undesirable effects, you can invest in a dispensing system to save both time and money — and to create a more consistent product from the start.

